

BuzzBoost is another service provided by Feedburner to publicize your feed contents. You can cross-promote the content of your feed in any place where you can display HTML. For example, you can display the latest headlines from your blog on your website, podcast site, or on your friend’s site.
Talking towards the technical thingy, BuzzBoost allows your web browser to grab the feeds in HTML format, making it readable and pleasing to eyes with several styles. BuzzBoost can take many forms and be displayed anywhere you can copy and paste a short snippet of HTML.
Here is how BuzzBoost looks with default styling.

Let me show you how to install it.
Login to your feedburner account, by going to feedburner.google.com. If you don’t have one, then register to them. You must submit a site feed to feedburner.
To burn your feeds in feedburner, just submit your website to them.
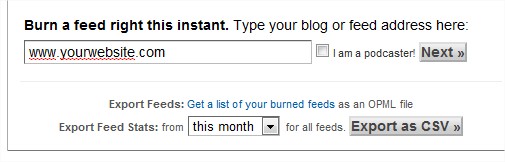
Click on Next and follow the instructions.
Now we are ready to setup the BuzzBoost.
In Feedburner Homepage, choose the feed you want to show in BuzzBoost.
When next page loads, choose click on Publicize tab.

In the left Services column, click on BuzzBoost.

Your BuzzBoost instantly will be ready on Next page.
You can copy the code snippet provided by then and paste it wherever you like the BuzzBoost widget to appear.

Alternatively if you have Blogger or TypePad blog, you can click on Go button.
Choose your blog, and add the widget to your blog.
Scroll down to the bottom of the page.

If you are satisfied with the things that appears in your new BuzzBoost widget you can end the tutorial here.
In case, if you want some modification, scroll down to Feed settings and change the settings.

After changing things around, click on save button.
 Posted in
  Tags:
Tags: